「Lightsail」の初期設定とインストールまではこちら
今回の記事の内容を実施する前に、「Lightsail」の初期設定と「WordPress」のインストールが必須になります。
「独自ドメイン」と紐付け
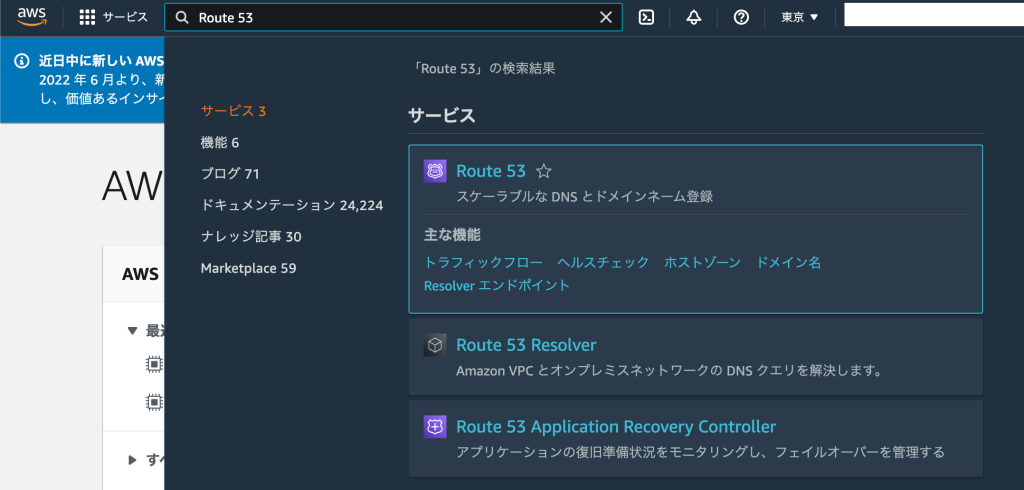
AWSのコンソールで、「Route 53」を開きます。
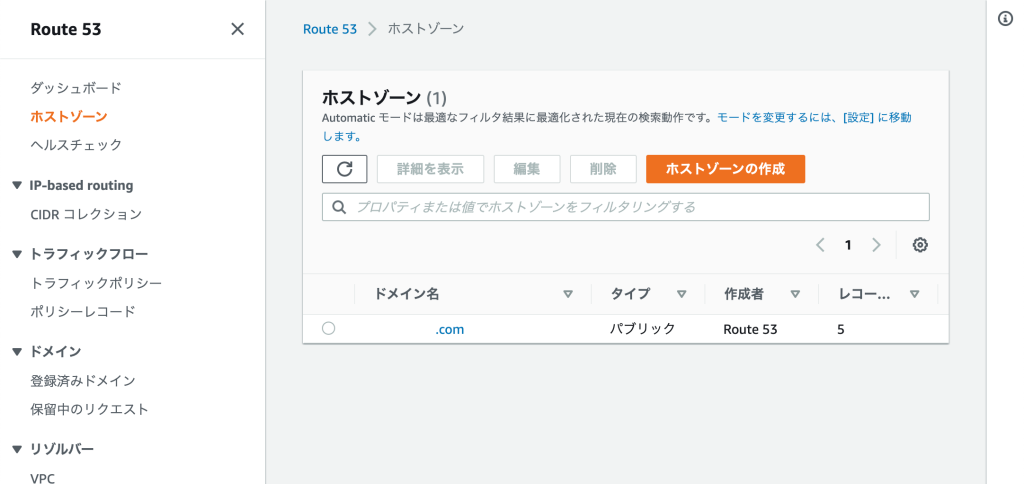
左側の「Route 53」メニューから、「ホストゾーン」をクリック。
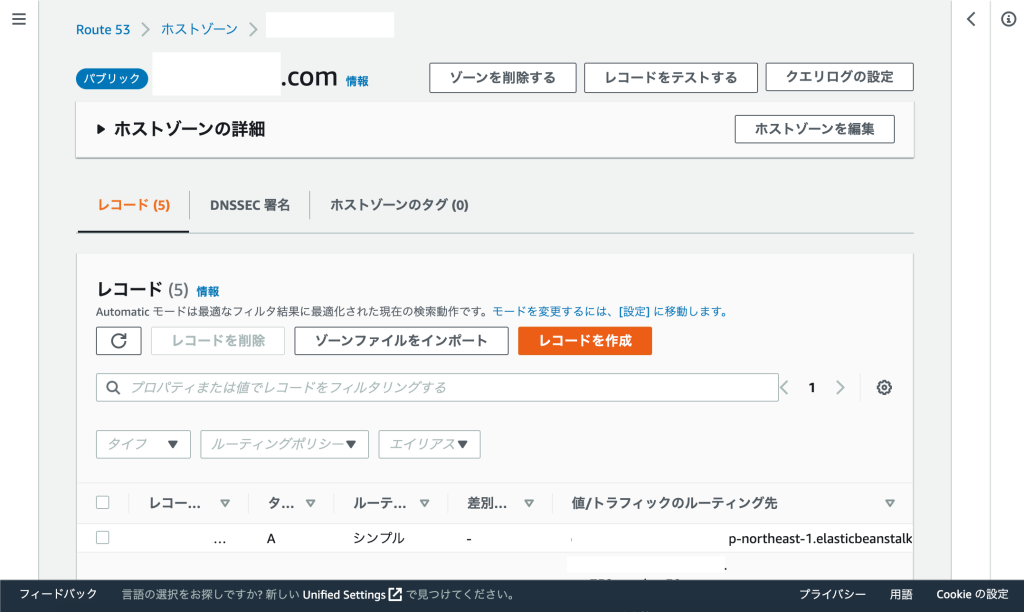
取得済みの独自ドメインが一覧で表示されるので、「Lightsail」と紐づけたいドメイン名を選びます。
選択したドメインの「レコード」の表示がされるので、「レコードの作成」をクリックします。
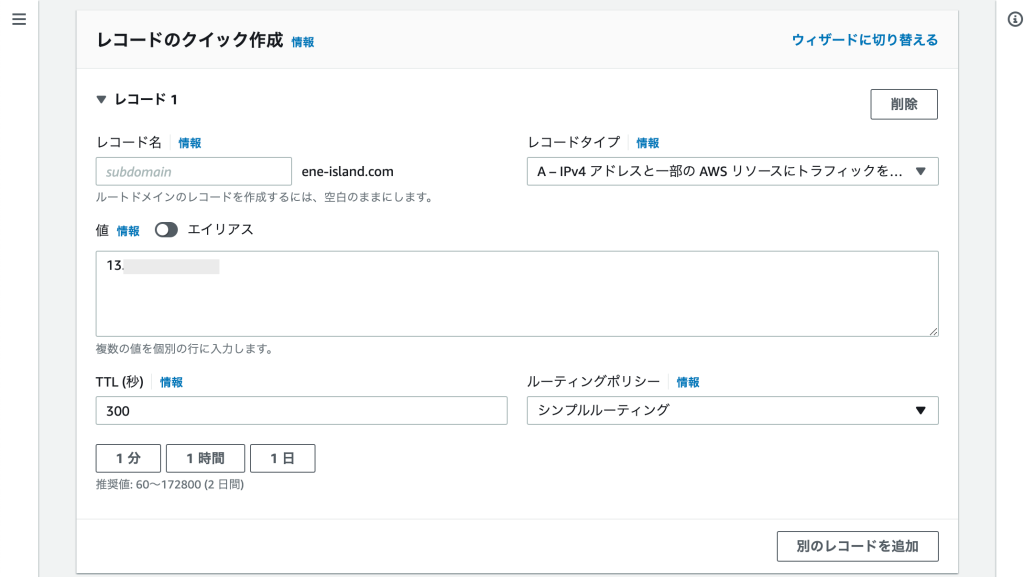
「レコードのクイック作成」画面が表示されたら、「値」の項目に「Lightsail」で割り当てた「静的IP(固定IP)」の値を入力し、レコードを保存します。
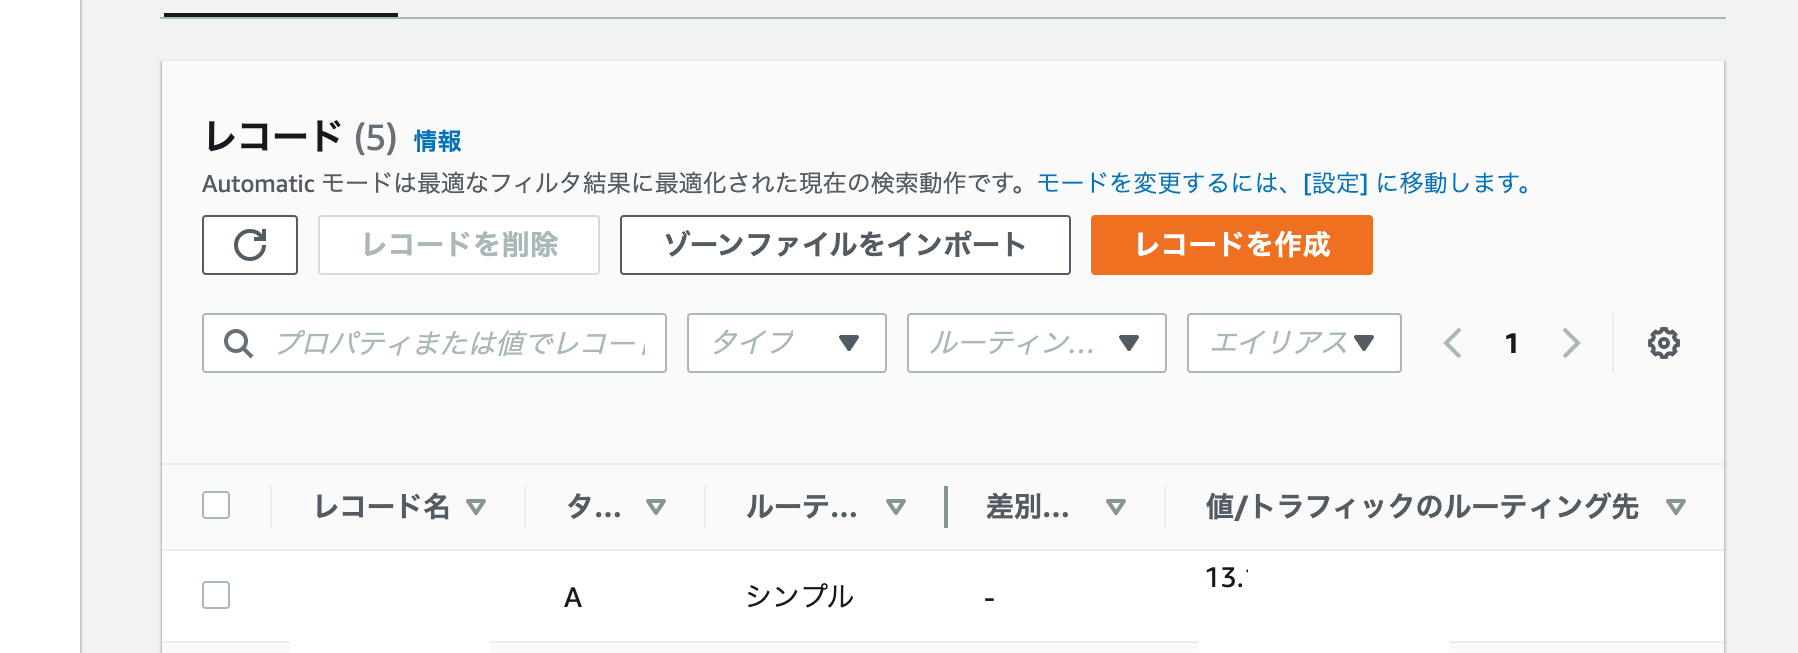
「レコード」の表示画面に戻り、入力した「値(静的IP)」が表示されたレコードが追加されていれば作業は完了です!
一度、URLを入力してアクセスできるか確かめてみましょう。
この後、Webサイトを暗号化して「https」表示に変更させる「SSL化」を行っていきます。
「SSL化」する
SSL証明書(Let’s Encrypt)を使用したSSL化を実施するために、「SSH接続」をして確認します。
インスタンスの「接続」タブから「インスタンスへの接続」の項目の「SSHを使用して接続」をクリックします。
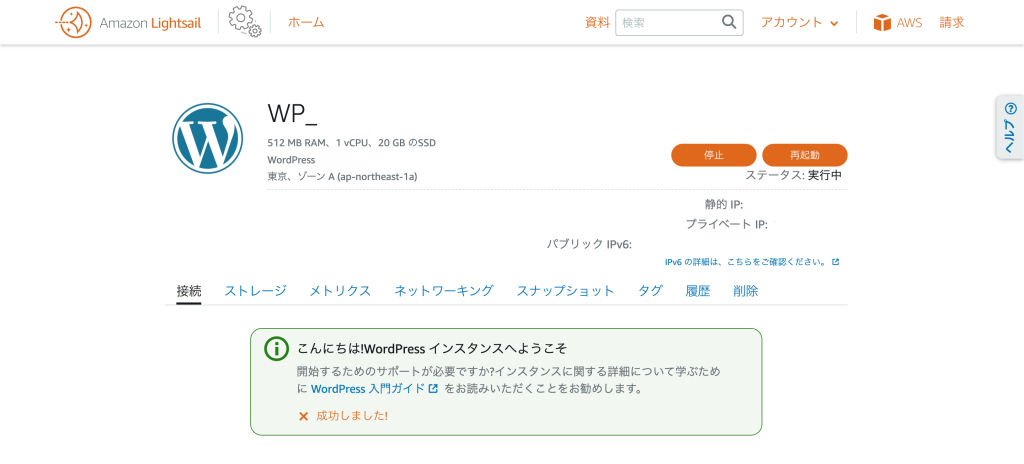
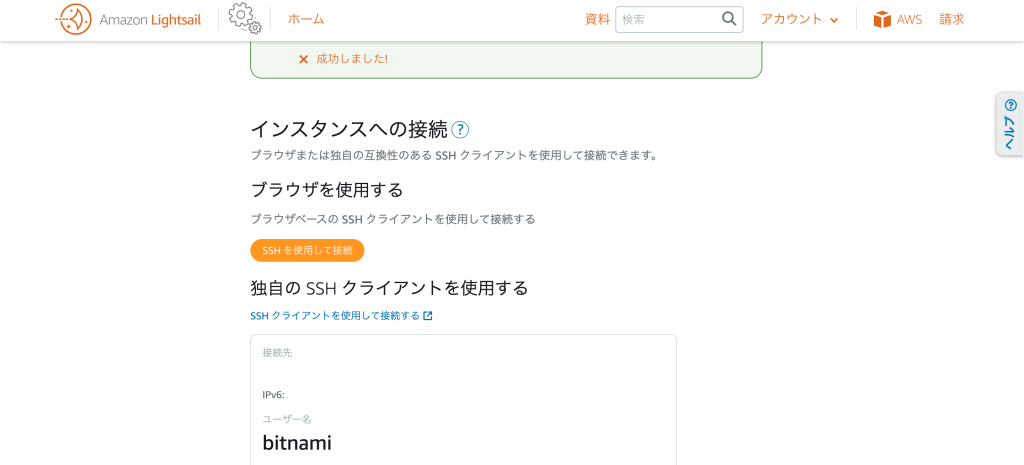
「SSHを使用して接続」をクリック。
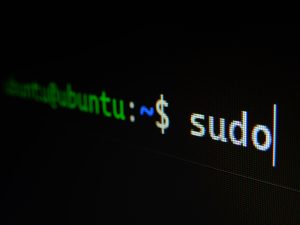
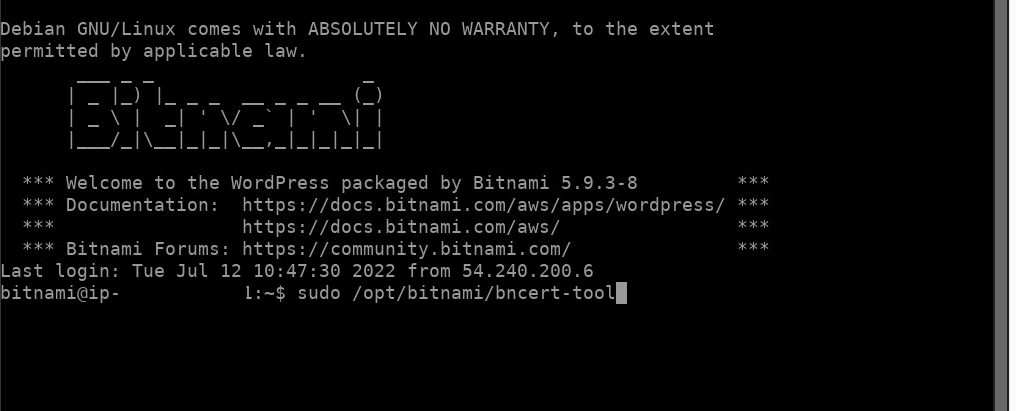
新しいウィンドウが立ち上がり、黒色の画面が表示されるので、そこで以下のコマンドを実行します。
sudo /opt/bitnami/bncert-tool
以下のようなアップデートの確認を問う表示がされていますが、「N」でスルーします。
(アップデート版をご用意しています。ダウンロードしてみませんか?後で手動で実行する必要があります。)
An updated version is available. Would you like to download it? You would need to run it manually later. [Y/n]: 「ドメインリスト」に使用するドメインを入力します。
今回は、「hogehoge.com」と仮定します。
----------------------------------------------------------------------------
Welcome to the Bitnami HTTPS Configuration tool.

----------------------------------------------------------------------------
Domains

Please provide a valid space-separated list of domains for which you wish to
configure your web server.

Domain list []: hogehoge.com
「www」付きのマルチドメインに対応するかを聞かれます。
今回はNoにしておきます。必要な場合には「Y」を選択してください。
The following domains were not included: www.hogehoge.com. Do you want to add them? [Y/n]: nHTTPSへのリダイレクトをかけるか確認が入ります。
Enable HTTP to HTTPS redirection [Y/n]: Y反映するために1〜5の手順で再起動します。いいですか?の確認が入ります。
「y」で再起動を行います。
The following changes will be performed to your Bitnami installation:

1. Stop web server
2. Configure web server to use a free Let's Encrypt certificate for the domains:
hoge.hengjiu.jp
3. Configure a cron job to automatically renew the certificate each month
4. Configure web server name to: hoge.hengjiu.jp
5. Enable HTTP to HTTPS redirection (example: redirect http://hoge.hengjiu.jp
to https://hoge.hengjiu.jp)
6. Start web server once all changes have been performed


Do you agree to these changes? [Y/n]: Y


----------------------------------------------------------------------------
Create a free HTTPS certificate with Let's Encrypt
証明書の期限が近づいた際、更新通知を送るメールアドレスを登録します。
Create a free HTTPS certificate with Let's Encrypt

Please provide a valid e-mail address for which to associate your Let's Encrypt
certificate.

Domain list: hogehoge.com

Server name: hogehoge.com

E-mail address []: hogehoge@gmail.com
「Let’s Encrypt」の利用規約に同意するかの確認が入ります。
内容を確認の上「Y」で同意します。
The Let's Encrypt Subscriber Agreement can be found at:

https://letsencrypt.org/documents/LE-SA-v1.2-November-15-2017.pdf

Do you agree to the Let's Encrypt Subscriber Agreement? [Y/n]: Y


----------------------------------------------------------------------------
Performing changes to your installation

The Bitnami HTTPS Configuration Tool will perform any necessary actions to your
Bitnami installation. This may take some time, please be patient.

----------------------------------------------------------------------------
Success
以上で導入完了です。
If you find any issues, please check Bitnami Support forums at:

https://community.bitnami.com

Press [Enter] to continue:
実際に、「https」のURLでアクセスできるか確認できれば作業完了です。