参考にさせて頂いた投稿

めちゃめちゃ分かりやすかったです。
ここでは、初心者でも分かりやすいようにさらに分かりやすくして書き残します。
環境構築と事前準備
早速、環境を構築していきます。
「Docker Desktop」 ダウンロード
最初に「Docker Desktop for Apple Silicon」をダウンロード、インストールします。
Intel版とMac M1 版があるため、注意です。
https://hub.docker.com/editions/community/docker-ce-desktop-mac
「Rosetta 2」インストール
ターミナルで実行します。
softwareupdate --install-rosetta実際にやってみる
「作業ディレクトリ」の準備
ディレクトリ名は制作する「アプリ名(ここではnllllll_appになっています)」にしておく方が分かりやすいです。
「mkdir」でディレクトリを作成して、「cd」でディレクトリに移動しています。
mkdir nllllll_app

cd nllllll_app
ディレクトリに移動したら、コマンドを実行します。
touch {Dockerfile,Gemfile,Gemfile.lock,entrypoint.sh,docker-compose.yml}以下の5つのファイルが出来上がるのを確認します。
- Dockerfile
- Gemfile
- Gemfile.lock
- entrypoint.sh
- docker-compose.yml
そして、各ファイルを編集してペーストしていきます。
(一部編集が必要な部分があります。気をつけてください。)
FROM ruby:2.5
RUN apt-get update -qq && apt-get install -y nodejs postgresql-client
# nllllll_appと書かれている部分はディレクトリ名に応じて変更します。
WORKDIR /nllllll_app
COPY Gemfile /nllllll_app/Gemfile
COPY Gemfile.lock /nllllll_app/Gemfile.lock
RUN bundle install
COPY . /nllllll_app

# Add a script to be executed every time the container starts.
COPY entrypoint.sh /usr/bin/
RUN chmod +x /usr/bin/entrypoint.sh
ENTRYPOINT ["entrypoint.sh"]
EXPOSE 3000

# Configure the main process to run when running the image
CMD ["rails", "server", "-b", "0.0.0.0"]
source 'https://rubygems.org'
gem 'rails', '~>5'#!/bin/bash
set -e
# Remove a potentially pre-existing server.pid for Rails.
rm -f /myapp/tmp/pids/server.pid
# Then exec the container's main process (what's set as CMD in the Dockerfile).
exec "$@"version: "3.9"
services:
db:
image: postgres
volumes:
- ./tmp/db:/var/lib/postgresql/data
environment:
POSTGRES_PASSWORD: password
web:
build: .
command: bash -c "rm -f tmp/pids/server.pid && bundle exec rails s -p 3000 -b '0.0.0.0'"
volumes:
- .:/nllllll_app #アプリケーション名に応じて変更します。
ports:
- "3000:3000"
depends_on:
- db
プロジェクトの立ち上げ
下準備が終了したので、アプリをビルドしてきます。
「Docker版」の rails new コマンドを実行していきます。
docker-compose run --no-deps web rails new . --force --database=postgresql
処理が終わったら「Gemfile」が更新されているので再度ビルドをかけます。
docker-compose build
デフォルトのものから「Postgres Imgae」に合うように変更して、「config/database.yml」に書き込んでいきます。
default: &default
  adapter: postgresql
  encoding: unicode
  host: db
  username: postgres
  password: password
  pool: 5

development:
  <<: *default
  database: nllllll_app_development


test:
  <<: *default
  database: nllllll_app_test
アプリの起動の確認とデータベースの作成
一度、アプリケーションを立ち上げて動作することをチェックします。
アプリを立ち上げるときは、
docker-compose up
逆にアプリを止めたい時は、
docker-compose downで「起動」と「停止」ができます。
起動と停止が確認できれば、最後に「データベース」を作成していきます。
以下のコマンドを実行。
docker-compose run web rake db:create最終確認
コマンドが正常に完了したのを確認したら、再度アプリを「起動」します。
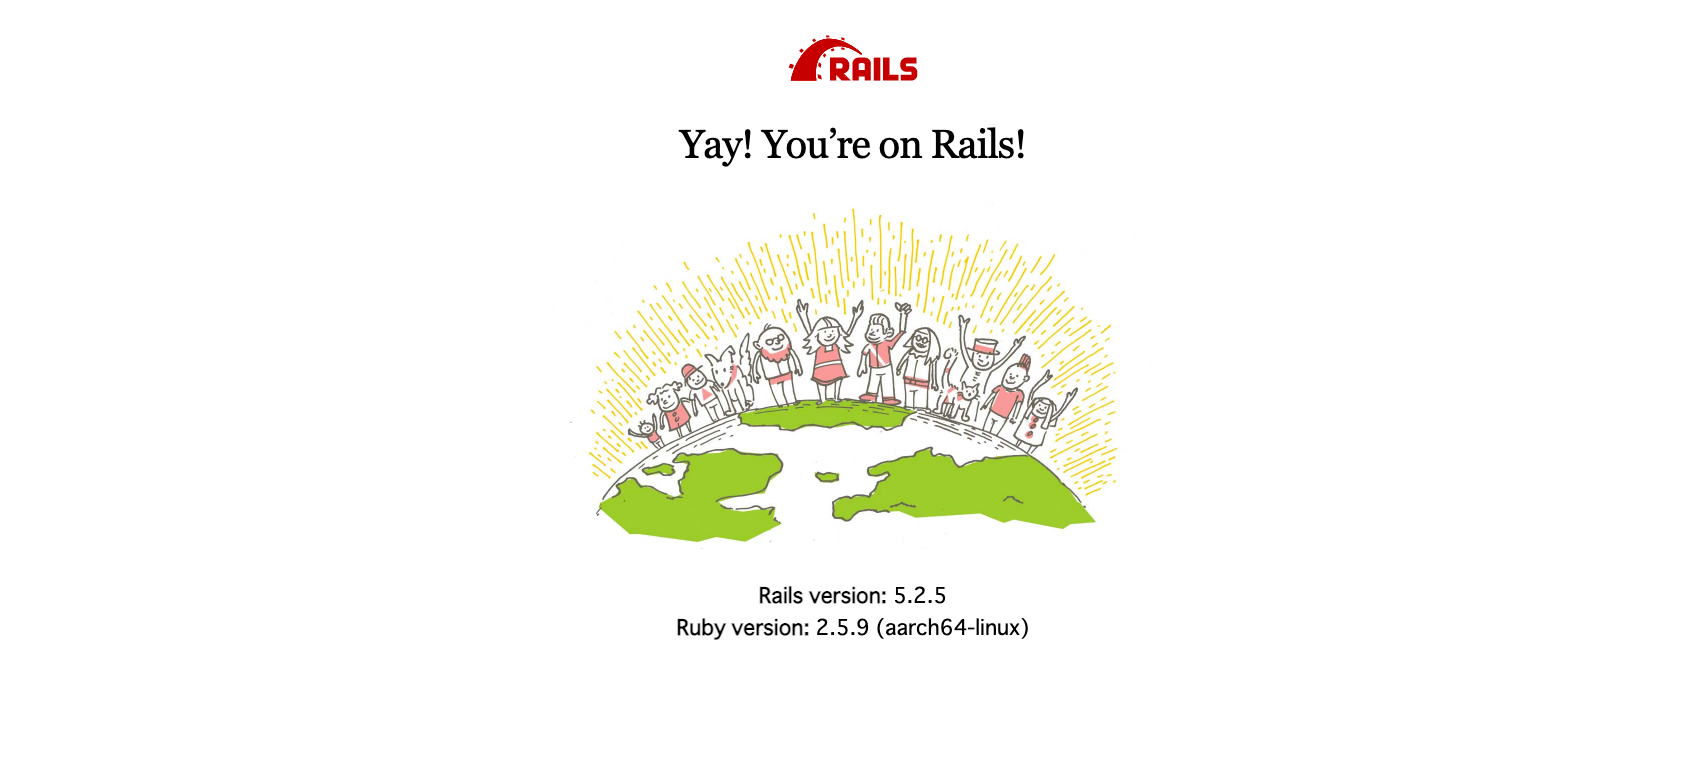
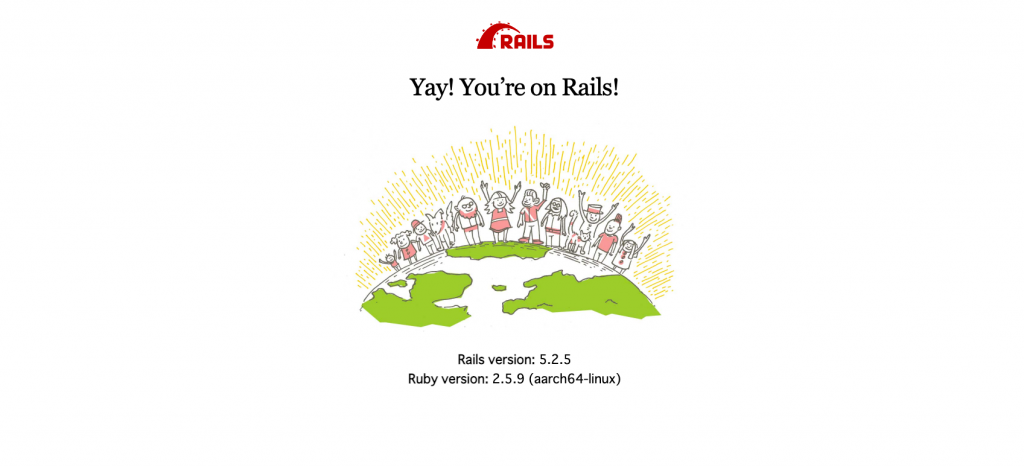
docker-compose up「localhost:3000」にアクセスして、
「Yay! You’re on Rails!」のメイン画面が表示されるのをチェックします。
おわり
以上で、「M1チップ搭載MacでDockerを使ったRuby on Railsの開発環境を作る」作業が完了です。
今まで、ローカルの「Vagrant」環境で行っていましたが、これを機に「Docker」を使っていきたいと思います。
注意点としては、「ディレクトリ名(アプリ名)」に応じて、記述を変更しなければいけない部分がいくつかあるので、
そこを間違えなければ30分ほどで完了できるのでは無いかなと感じました。
